Added to your basket

Blog

What’s a keto breakfast, and what are the benefits?

They say that breakfast is the most important meal of the day, and truth be told, it is. So you want to make it count, and here’s a way to make a brekkie that keeps you full and firing on all cylinders until lunchtime: the keto breakfast.

Think grub packed with protein and good fats, with barely a carb in sight. Start the day this way, and you'll cruise through the morning in ketosis, tapping into that sweet spot where your body uses fat for fuel instead of glucose. .

Now, a quick heads-up. Keto breakfasts aren't for everyone. If you're expecting, smashing fitness goals, or need more carbs to power your day, this might not be the best way to start the day. And the golden rule? Always talk to your nutritionist before switching up your diet. They'll give you personalised advice on whether keto is right for you.

Reckon you're game to give a keto breakfast a go? Get stuck into these recipes and feel the keto difference!

Keto pancakes and poached eggs

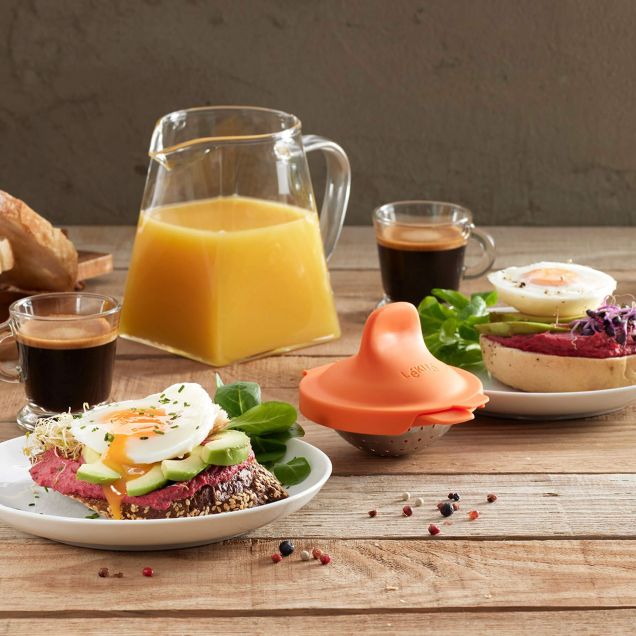
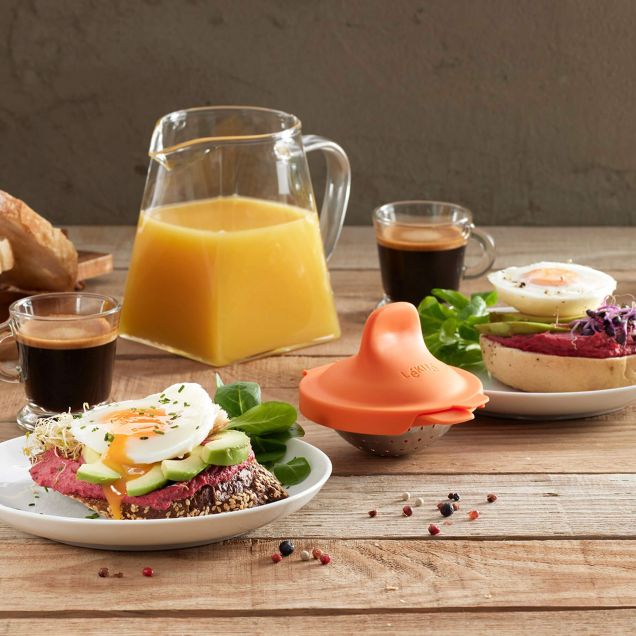
Eggs are one of the best sources of protein you can choose, and with this keto breakfast favourite, you’ll get that eggy kick first thing.


Ingredients

  • 2 poached eggs 

  • 30 g almond flour

  • 100 g fresh cheese, whipped

  • ½ teaspoon baking powder

  • Essence of vanilla and cinnamon

Preparation

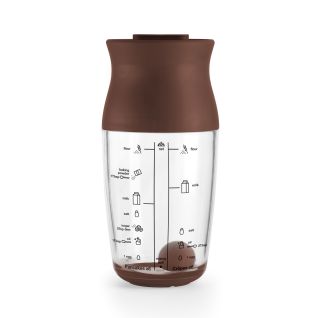
  • Mix the pancake ingredients — almond flour, fresh cheese, baking powder, essence of vanilla and cinnamon — well with your Crêpes & Pancakes Shaker until you obtain a smooth batter.

  • Plate up the pancakes, with the eggs, and, optionally, add a little peanut butter. Enjoy!


Escalfador de huevos
 

Coconut and chocolate cookies

This keto breakfast version packs a punch with a generous helping of protein, complemented by mouth-watering coconut and chocolate flavours. A delicious option to start the day with a cheeky little sweet treat that’ll leave you feeling energised and ready for the day.


Ingredients

  • 1 egg

  • 60 g coconut flour

  • 60 g almond flour

  • Cinnamon

  • 2 ounces 85% chocolate

Preparation

  • Mix all the ingredients except the chocolate in a bowl until you have a paste that is easy to handle with your hands.

  • Wet your hands and make small balls.

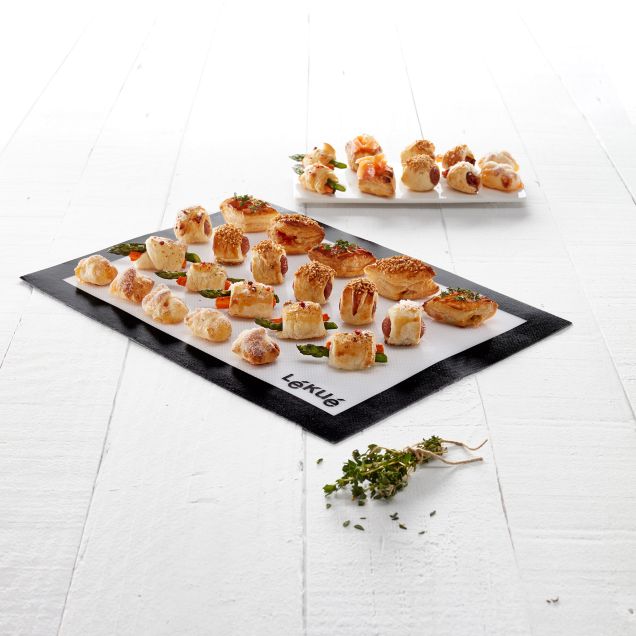
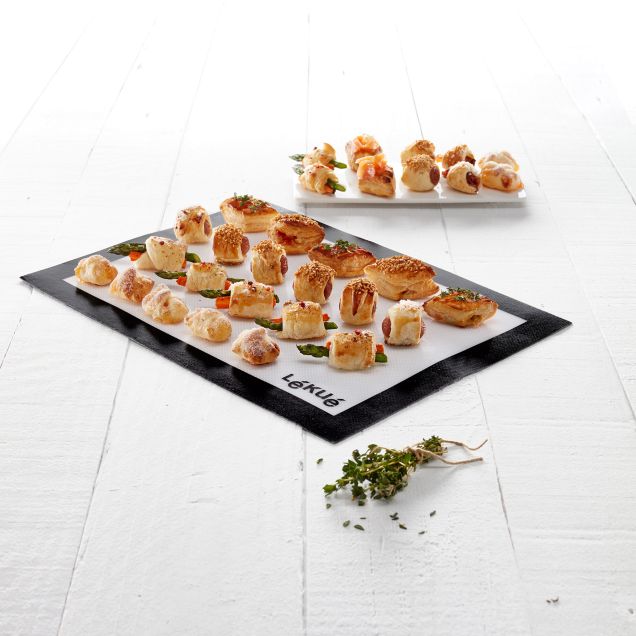
  • Place them on your Silicone Baking Mat and gently press them down with the palm of your hand.


  • Chop the chocolate into pieces and place them on the biscuits.

  • Bake for 10-12 minutes at 180 °C.

  • Leave to cool at room temperature and enjoy!

 

Give these tasty keto breakfast recipes a try. Who knew healthy keto  food could be so downright delicious?!

Simple and healthy sweet and sour sauce recipe

You might be surprised to learn how simple it is to whip up a delicious sweet and sour sauce recipe in 3 easy steps. We’ll also show you how to tweak it to be healthier (and even tastier than take away)!

The origin of sweet and sour sauce

Sweet and sour sauce comes from China, where it's traditionally served with meat dishes. The ingredients can differ depending on the region, but typically, vinegar or soy sauce provides the sour flavour, while honey or sugar adds the sweetness. You'll also often find a touch of tomato purée in the mix, though this can vary.

The classic sweet and sour sauce recipe

Here’s a traditional sweet and sour sauce recipe, typical of many Chinese dishes we love to order on a Friday night.


Ingredients:

  • Juice of ½ orange

  • 150 ml (5.07 oz) water

  • 1 tablespoon (0.5 oz) soy sauce

  • 2 tablespoons (1 oz) tomato paste or ketchup

  • 3 tablespoons (≈0.94 oz) of sugar

  • 1 tablespoon (≈0.5 oz) of cornflour

  • 4 tablespoons (2 oz) of vinegar

Preparation:

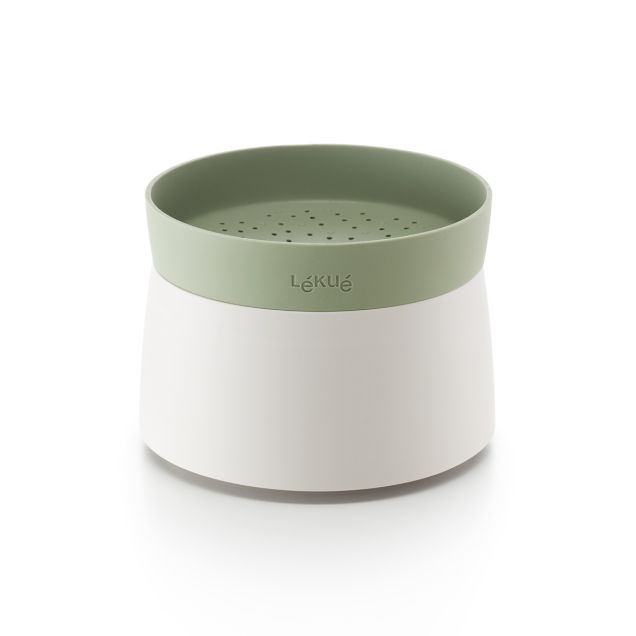
  1. Place all the ingredients in the Microwave Steam Cooker, mix and cook in the microwave for 2 minutes on maximum power (800 W).

  2. Then, mix the ingredients again and cook them for one more minute in the Microwave Steam Cooker — just one minute, just enough for the sauce to thicken.

  3. Finally, put the sauce in your dressing shaker. This allows you to keep the sweet and sour sauce perfectly in the fridge and makes it easier to serve without staining anything, as you can do it with just one hand. When it comes to serving, just shake and serve!

If you want to spice up your sweet and sour sauce recipe, add a little cayenne pepper to the mixture during preparation. 


Healthy sweet and sour sauce recipe

If you want a lighter version, here is a recipe for sweet and sour sauce that is just as good as the traditional one. Thank us later!

Ingredients:

  • 70 ml (2.37 oz) pineapple juice

  • 70 ml (2.37 oz) apple cider vinegar

  • 70 ml (2.37 oz) sugar-free or homemade tomato sauce

  • A few drops of sweetener

  • 1 small teaspoon (≈0.17 oz) of cornflour

Preparation

  1. As in the previous version, mix all the ingredients in the Steamer Cooker and cook in the microwave for 2 minutes at maximum power (800 W).

  2. Mix it again and microwave it at the same power, but this time for just one minute, so the sauce thickens.

  3. Finally, pour the sauce into your dressing shaker. When it's time to serve, just shake and serve.

Ideas for dishes with sweet and sour sauce


As you can see, sweet and sour sauce is incredibly versatile and can really lift the flavour of all sorts of dishes, especially meat, fish, and anything battered. Here are a few ideas for meals that work particularly well with our sweet and sour sauce recipes:

  • Snapper with roasted apple and sweet and sour sauce

  • Sweet and sour pork Chinese style

  • Battered vegetables with sweet and sour sauce

  • Grilled chicken salad with sweet and sour sauce and coconut milk

So now that you've seen just how easy this sweet and sour sauce recipe is, there's no reason not to add a delicious homemade touch to your meals whenever you fancy it! What's even better is that with our healthier version, you can cut down on calories and still enjoy all the fantastic flavour of this iconic Oriental sauce. Chī hǎo hē hǎo (that’s bon appétit in Mandarin)!


How to cook broccoli: 4 easy recipes to enjoy this vegetable

Fancy a bit of broccoli? It's a really versatile veg, packed with goodness. Read on and find out how to cook broccoli to perfection. You might just be surprised by this little green powerhouse!

Broccoli properties and varieties

Broccoli is a vegetable from the Brassicaceae or Cruciferae family—the same family as cauliflower, cabbage, and Brussels sprouts. 

It is one of the most vitamin C-dense foods out there and has a very high fibre content, making it tremendously nutritious and filling. In addition, it is high in antioxidants and beta-carotene, which strengthen the immune system and help prevent cardiovascular disease. Bonus fact: Some studies even suggest that when consumed regularly, it can help prevent some types of cancer, including prostate cancer.

Types of broccoli

Something that not many people know is that there are many different types of broccoli. Some of the most common are:

Calabrese Broccoli. This is the classic we all know and love. It is characterised by the little green florets and is perfect for side dishes or mains, such as broccoli rice.

Bimi. A fancy little number that’s longer and thinner, making it an ideal accompaniment to meat or fish.

Romanesco. This type of broccoli has a crispier texture and is great for stir-fries. It is easy to identify by its curious fractal shapes.

  • Purple broccoli. A slightly less common variety than the others, which adds a splash of colour to your plate while maintaining the same delicious flavour

Regardless of which type of broccoli you choose, they all contain very similar properties and nutrients. Now that you know a little more about this versatile cruciferous vegetable, it's time to look at the basics of how to cook broccoli.

How to cook broccoli

Many people think that boiling broccoli is the healthiest way to cook this versatile veggie, but in fact, this is a big misconception. Boiling broccoli makes it lose many of its nutrients, and the resulting texture is not the most pleasant on the palate, to say the least.

The best way to cook broccoli to retain all its nutrients and flavour is to steam or eat it raw. Yes, raw! It stays crunchy and is great for crudités, for instance. Here are our 4 favourite ways to cook broccoli while keeping all its flavour and nutrients. 

Also, if you want to start including broccoli in your diet, we recommend using the Steam Cookers, which will make it much easier for you to prepare this and other vegetables on a daily basis. Let’s look at how to cook broccoli for maximum taste, health and crunch.

1. Broccoli and rice

Broccoli and rice is a popular combination, as the flavors work well together. It’s also a healthy, filling dish, great for hot packed lunches or quick bites in the evening.


Ingredients:

  • 50 g broccoli

  • 50 g white rice

  • 300 ml water

  • 2 tablespoons olive oil

  • Oregano

  • Salt

Preparation:

  1. Wash the broccoli florets and place them in the Microwave Steam Cooker. Add a tablespoon of water, one tablespoon of oil, and a little salt to taste. Cook everything in the microwave for 4 minutes at maximum power (800 W).

  2. Remove the broccoli and set aside in a separate bowl.

  3. Cook the white rice in the Quick Quinoa & Rice Cooker according to the instructions on the packet.

  4. Drain the rice, add the broccoli and season with pepper and oregano to taste.

  5. Enjoy!

2. Fake broccoli rice with egg

Who knew you could make “rice” without grains? It's a clever dish that's low in calories and can be used as a base for all sorts of meals. 


Ingredients:

  • 100 g broccoli

  • 1 egg

  • Salt and pepper

Preparation:

  1. Wash the broccoli florets well and chop them to obtain a rice texture.

  2. Place the broccoli in the Steam Cooker and cook for 4 minutes at maximum power (800 W).

  3. Heat water in a saucepan, but don’t quite let it reach a rolling boil.

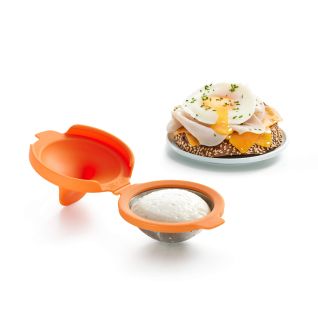
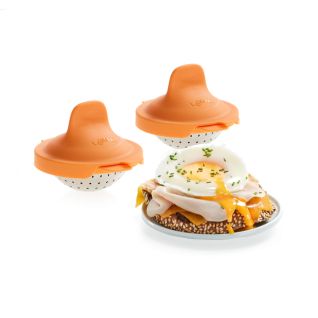
  4. Crack the egg into the Egg Poacher and place it in the pot of hot water. Leave to cook for 3 minutes.

Tip: Grease the product with a little oil to make it easier to get the egg out.

  1. Place the egg on top of the broccoli rice, add salt and pepper to taste and enjoy this delicious combo.


3. Steamed broccoli

Knowing how to cook broccoli in the microwave is a great help if you want a quick, easy and healthy way to eat vegetables in 3 minutes. With this broccoli and vegetable recipe, you'll have a quick snack or starter ready in no time. It's like magic!


Ingredientes:

  • 150 g de brócoli
  • 30 g de cebolla en julianas
  • 40 g de miel
  • 40 g de salsa soja
  • 1 cayena
  • 20 g de aceite de sésamo
  • Sésamo

Elaboración:

  1. Corta la cebolla en juliana y los arbolitos de brócoli de forma uniforme.
  2. Introduce en la base del Estuche de Vapor la soja, pimienta de cayena y la miel.
  3. Coloca la bandeja y, sobre esta, el brócoli y la cebolla. 
  4. Cuécelo en el microondas 4 minutos a máxima potencia (800 W).
  5. Pasado este tiempo, deja reposar 1 minuto con el Estuche de Vapor cerrado y sirve el brócoli y la cebolla.
  6. Para terminar la salsa en el Estuche de Vapor, añade el aceite de sésamo y las semillas de sésamo. Mezcla bien y sirve sobre el brócoli.


4. Brócoli crujiente al horno con zumo de limón

Asar las verduras al horno es una forma de obtener texturas crujientes. En esta receta, se combina el brócoli con un toque de limón que le aporta frescura y lo hace más agradable al paladar. Prueba a sustituir la variedad de brócoli común por bimi o brócoli morado o, mejor aún, ¡mézclalas todas!

Ingredients:

  • 150 g broccoli

  • 30 g onion, sliced into julienne strips

  • 40 g honey

  • 40 g soy sauce

  • 1 chilli pepper

  • 20 g sesame oil

  • Sesame seeds

Preparation:

  1. Cut the onion into julienne strips and the broccoli florets into even pieces.

  2. Place the soy sauce, chilli pepper and honey in the base of the Steam Case.

  3. Place the tray on top, and place the broccoli and onion on top of the tray.

  4. Cook in the microwave for 3 minutes on full power (800 W).

  5. Leave to stand for 1 minute with the Steam Case closed, and serve the broccoli and onion.

  6. To finish the sauce in the Steam Case, add the sesame oil and sesame seeds. Mix well and serve over the broccoli.

4. Crispy oven-baked broccoli with lemon juice

Roasting broccoli is a crunch-lover’s dream! In this recipe, we’re adding a squeeze of lemon, which gives it a lovely fresh taste and makes it even more enjoyable. Why not try swapping regular broccoli for tender stem or purple sprouting broccoli, or even better, use a mix of all three!


Ingredients:

  • 100 g broccoli

  • 1 clove of garlic

  • Olive oil

  • Lemon juice

  • Black pepper

Preparation:

  1. Wash and chop the broccoli so you have little trees of similar sizes.

  2. Place the broccoli in a bowl and dress it with olive oil, pepper, lemon juice and chopped garlic.

  3. Place the seasoned broccoli in the air fryer basket in a single layer.

  4. Set the air fryer to 200 °C (390 °F) and cook for 8–10 minutes, shaking the basket halfway through, until the broccoli is golden and slightly crispy on the edges.

  5. Remove from the air fryer and serve.


Now that you've got a whole host of ways how to cook broccoli and keep all that lovely flavour and goodness locked in, we reckon you'll be adding it to your meals regularly! Let the culinary adventures begin and remember you can get all the kit you need right here with Lékué. Which delicious method will you try out first? 


para qué sirve el kéfir

Discover all the benefits of kefir


Discover all the benefits of kefir

Believe the hype: kefir is changing the way we keep our digestive systems healthy, with a delicious creamy texture and moreish tang. You’ll have seen kefir products popping up everywhere, but here’s something you may not know about the world’s hottest gut health trend: Milk kefir is one of the oldest known dairy products, originating from the Caucasus Mountains. But hype aside, do you really know what makes kefir so special? Here, we give you the lowdown on all the benefits of kefir. 

What is kefir?

Kefir is a dairy product obtained by fermenting milk, whether from cows, goats or other sources, using kefir ‘grains’. These grains are actually a combination of lactic bacteria and yeasts that form a gelatinous structure similar to cauliflower.


During the fermentation process, the bacteria and yeasts present in the kefir grains metabolise the sugars in the milk (for example, lactose), converting them into lactic acid and other beneficial substances. This results in a slightly acidic dairy product with a unique flavour and a touch of fizz.

Kefir is recognised as an excellent source of probiotics, live microorganisms that support intestinal health by balancing the gut's bacterial population. But the benefits of kefir don’t stop there; it’s also rich in vitamins, minerals and other essential nutrients, such as protein and calcium.

This fermented product has been consumed for centuries in Eastern Europe, Central Asia and parts of Europe. Today, kefir is enjoyed all over the world and is available in various forms, including milk kefir, water kefir (made with water instead of milk) and vegan options made with plant-based milks such as coconut or almond.

What are the benefits of kefir?

This fermentation process gives kefir properties that make it a bona fide superfood, packed with health benefits. The bulk of these superfood credentials comes from its high probiotic content, which is ideal for our bacterial flora and a healthy and strong digestive system.

But what is good bacteria, anyway? But why is our gut flora important? Here are the need-to-know points on the benefits of kefir, fermented wonder food:

  • Improved digestive health: the probiotics in kefir can help balance the bacteria in the intestine, which, in turn, contributes to better digestion and alleviates problems such as constipation, bloating and irritable bowel syndrome.

  • It strengthens the immune system: It is believed that the probiotics in kefir can strengthen your immune system, preventing infections and illnesses.

  • It improves bone health: Some research suggests that kefir can help improve bone health due to its calcium and vitamin K2 content, as well as other essential nutrients for bone health.

  • It has a potential antioxidant effect: kefir possesses antioxidant properties, which means it can protect the body against damage caused by free radicals.

How to make homemade probiotic kefir

Now that you're clued in on the benefits of kefir, it’s time to get hands-on. Making your own at home is not only easier on the wallet but also a convenient way to get your daily dose of fermented goodness, no ancient milk fermenting techniques required!

With the Lékué Kefir & Yogurt Maker it couldn't be easier. You only need to follow three very simple steps and, in no time at all, you can enjoy your own fresh and delicious dairy products – with no added sugar, no preservatives, and no nasties, just pure creamy goodness. Why not get creative with your own flavours too?

Recipe for homemade probiotic kefir

Ingredients:

  • 800 ml fresh milk

  • 2 tablespoons kefir granules or 80 g culture (prepared or powdered kefir)

Preparation:

  1. Pour 800 ml of fresh milk into the translucent container.

  2. Heat the milk in the microwave at 800 W for 1 minute (25 ºC).

  3. Place the filter and the grinder in the Kefir & Yogurt Maker container.

  4. Add 2 tablespoons of kefir granules.

  5. Place the container with the lid on the thermal insulator.

  6. Ferment for approximately 20 hours.

  7. Remove the filter from the thermal insulator, uncover it, and turn it 90º.

  8. Stir with the grinder and filter the kefir, leaving only the granules in the strainer. Ready to enjoy!

Discover the secrets behind homemade kefir with our video tutorial. Learn step by step how to prepare this delicious and healthy fermented drink in a cinch and get all the benefits of kefir bottled fresh in your kitchen. 


Serving suggestion

You can enjoy kefir on its own or with these delicious and nutritious options for breakfast, snacks or desserts:

  • Kefir with fresh fruit and honey

  • Kefir with granola and banana

  • Kefir with strawberries and 85% chocolate

Also, why not give your favourite desserts a creative twist by incorporating kefir? You can explore new flavours, textures and healthy takes on yummy classics with the nutritional benefits of kefir. Get started with these ideas:

These are just a few ideas to make this funky-flavoured gut-health gem an everyday part of a healthy, colourful diet. From a gourmet dinner party with friends to a quick snack for the kids, homemade kefir adds a tangy treat to every mealtime. Let your imagination run wild and discover new ways to enjoy the benefits of kefir, all whipped up fresh in your kitchen!